No Professionals Needed! Master These Simple Repair Skills for Common Household Issues

Homeownership comes with a lot of rewards, but it also brings its fair share of challenges. One common challenge is dealing with household repairs. From a leaky faucet to a broken light fixture, these issues can be frustrating and expensive if you always rely on a professional to fix them. The good news is that you don’t always need to hire someone to solve these everyday problems. With a little know-how and confidence, many common household issues can be fixed with simple tools and techniques.
In this article, we will explore some of the most common household repair problems and provide step-by-step instructions for solving them. You don’t need to be a professional handyman to tackle these tasks—just follow these tips, and you’ll be able to handle minor repairs like a pro.
The Benefits of DIY Home Repairs
Before diving into the details of specific repairs, let’s take a moment to understand why learning these skills is beneficial.
1. Save Money: Hiring a professional for even small repairs can be costly. By doing it yourself, you can save hundreds of dollars over time.
2. Convenience: Instead of waiting for a repair technician to schedule a visit, you can fix the problem right away.
3. Satisfaction: There’s a great sense of accomplishment in solving household issues on your own. It boosts confidence and gives you control over your home.

Essential Tools for Basic Home Repairs
Before starting any repair, it’s important to have the right tools. Luckily, most common household repairs require just a few basic items:
● Screwdrivers (flathead and Phillips)
● Hammer
● Pliers
● Adjustable wrench
● Utility knife
● Tape measure
● Allen wrench set
● Plumber’s tape
● Electrical tape
● Level
● Putty knife
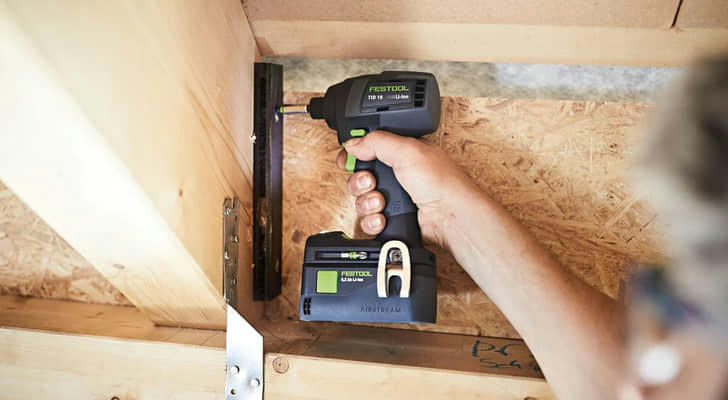
● Basic power drill
These tools can be easily found in any hardware store and will cover the majority of simple home repair tasks.

Common Household Repairs You Can Master
1. Fixing a Leaky Faucet
A dripping faucet is not just an annoyance—it can also waste a significant amount of water over time. Fortunately, it’s one of the easiest repairs you can make.
Step-by-Step Guide:
● Step 1: Turn off the water supply to the faucet. This can usually be done by turning the valve under the sink.
● Step 2: Using a wrench, carefully remove the handle and any covering caps to access the faucet’s cartridge or washer.
● Step 3: Check for wear and tear on the washer or cartridge. If it looks worn, replace it with a new one (you can find replacements at any hardware store).
● Step 4: Reassemble the faucet and turn the water supply back on.
Case Study: John’s Faucet Fix
John, a new homeowner, noticed his bathroom faucet was constantly dripping. Initially, he thought he needed to hire a plumber, but after watching a short online tutorial, he decided to try fixing it himself. Armed with just a wrench and a new washer, John was able to stop the leak in under 30 minutes—saving both water and money. The repair cost him less than $5, compared to the $100 he would have spent on a professional plumber.
2. Unclogging a Drain
Clogged drains are another common household problem, especially in kitchens and bathrooms. Hair, food scraps, and soap buildup can block the flow of water, leading to slow drainage or even a complete blockage. Fortunately, you don’t need to call a plumber for most drain issues.
Step-by-Step Guide:
● Step 1: Remove the drain cover. In the case of a bathroom sink or shower, you can usually lift it out by hand. For kitchen sinks, you may need to unscrew it.
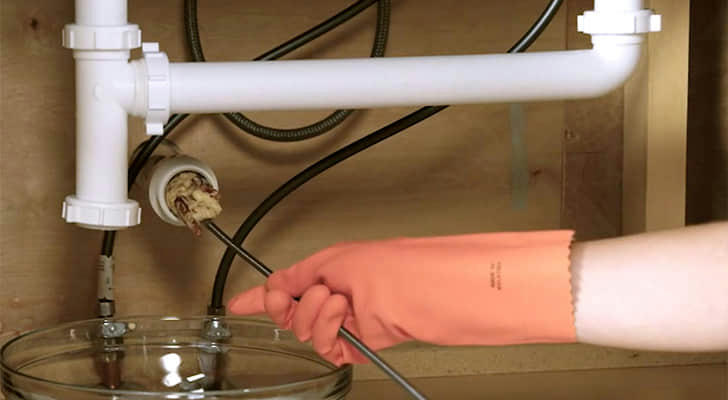
● Step 2: Use a plumber’s snake (a long, flexible tool designed to remove clogs) or a bent wire hanger to fish out any debris causing the blockage.
● Step 3: Run hot water down the drain to flush out any remaining residue.
● Step 4: If the clog persists, try using a baking soda and vinegar solution to break down the buildup. Pour half a cup of baking soda followed by half a cup of vinegar into the drain, wait 10 minutes, and then flush with hot water.

Case Study: Emma’s Kitchen Sink Clog
Emma’s kitchen sink suddenly stopped draining properly. Instead of spending hours waiting for a plumber to show up, she remembered a DIY trick her father taught her. She mixed baking soda and vinegar, poured it down the drain, and within minutes, the clog was cleared. Emma felt proud of herself for solving the problem on her own, and it didn’t cost her a penny!
3. Repairing a Hole in the Wall
Whether from moving furniture or an accident, small holes in walls are a common problem. Luckily, patching them is a simple process that anyone can do.
Step-by-Step Guide:
● Step 1: Clean the area around the hole to remove any dust or debris.
● Step 2: For small holes (like nail holes), apply spackling paste directly to the hole using a putty knife. Smooth it out so that it’s flush with the wall surface.
● Step 3: For larger holes (up to a few inches), use a patch kit. These kits come with mesh patches that you place over the hole before applying the spackling paste.
● Step 4: Once the spackle has dried (usually after a few hours), sand it smooth and paint over the patched area to match the wall.
4. Replacing a Light Fixture
Switching out a light fixture might seem intimidating, but it’s actually quite straightforward as long as you take safety precautions.
Step-by-Step Guide:
● Step 1: Turn off the power at the circuit breaker to ensure you don’t get an electric shock.
● Step 2: Unscrew the old light fixture from the ceiling or wall and disconnect the wiring (typically just a few wires connected with wire nuts).
● Step 3: Attach the wires from the new fixture to the corresponding wires in your ceiling or wall (black to black, white to white, and ground to ground).
● Step 4: Secure the new fixture to the ceiling or wall, and turn the power back on to test it.
5. Fixing a Running Toilet
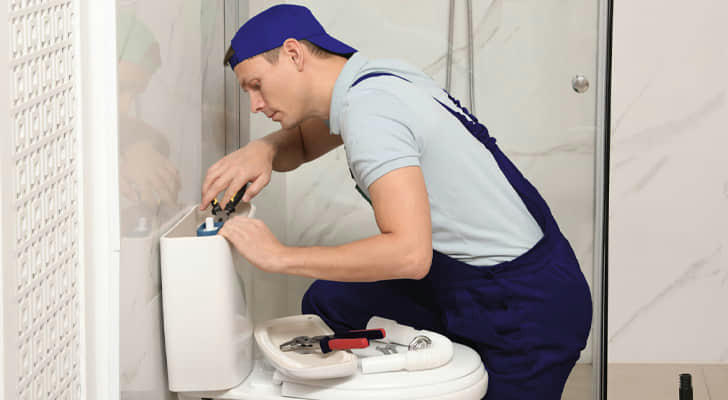
A toilet that constantly runs wastes a lot of water and can be annoying to listen to. Often, the problem lies with the flapper (the rubber piece inside the tank) or the chain connected to it.

Step-by-Step Guide:
● Step 1: Remove the lid from the toilet tank and inspect the flapper. If it’s not sealing properly, the toilet will keep running.
● Step 2: Check the chain connected to the flapper. If it’s too long or tangled, it may prevent the flapper from closing all the way.
● Step 3: Replace the flapper if necessary. You can find flapper replacements at most hardware stores, and they’re easy to install by simply clipping them into place.
Conclusion: You Can Handle Common Household Repairs!
Home repairs can seem intimidating at first, but with a little practice and the right tools, you can handle many of them on your own. Not only will this save you money, but it also gives you a greater sense of control over your home. Whether it’s fixing a leaky faucet, unclogging a drain, or repairing a hole in the wall, mastering these simple skills will help you become more self-sufficient.
The key to successful DIY repairs is to take your time, follow instructions carefully, and don’t be afraid to make mistakes—it’s all part of the learning process. So the next time something breaks or stops working in your home, remember that you can often fix it yourself without calling in a professional!
